Fabric Needed for a Shower Curtain? Find Out!
Many overlook the value of a carefully chosen shower curtain. It’s not just an afterthought but a key decor piece. The right fabric makes your shower curtain look top-notch. Most curtains are 72 inches square. So, you’ll need two panels from 45-inch or 54-inch wide fabric, each being 88 inches long.
If you pick fabric that’s 108 inches or 110 inches wide, you need only 2 ½ yards. This choice makes sewing easier. Plus, remember to fit in the twelve standard grommets or buttonholes for the hooks. Knowing how much material you need is crucial.
Prep your fabric right by ironing the edges and lining up patterns. Or, for a faster method, try a no-sew technique with fusible web and snap-in grommets. Make your bathroom stand out with a custom shower curtain that reflects your style.
Understanding Fabric Yardage for Shower Curtains
Starting a DIY shower curtain project? It’s important to know how much fabric you need. This helps you get the right fit for your bathroom and saves time and materials.
Standard Fabric Widths
When you plan to make a shower curtain, you should know about fabric widths. They mainly come in sizes like 45″, 54″, and there are wider ones up to 110″. The width you pick changes how much fabric you’ll need. For instance, for a 54″ wide fabric, you usually need about 5 yards for a regular curtain size.
Calculating Yardage Based on Fabric Width
Here’s how to figure out how much fabric you need for your shower curtain:
- Start by measuring the size you want for the curtain. They’re often around 70×70 inches or 72×72 inches.
- If you’re using standard 45″ or 54″ wide fabrics, cut two 88-inch-long pieces. You will then join these together.
- For wider fabrics (up to 110″), cut one 88-inch-long by 80-inch-wide piece. This makes for a neat curtain.
- Remember to account for patterns. You might need to add about 8 inches more in width and 16 inches in length for them.
Using waffle fabric, which is 84 inches wide, lets you make a curtain without seams using just 3 yards. Making sure your measurements are correct means you won’t waste fabric. It ensures your curtain looks great.
For extra tips, visit this page.
How Much Fabric Does it Take to Make a Shower Curtain?
To figure out how much fabric you need for a shower curtain, think about the fabric’s width, the curtain’s style, and extra material for hems and seams. A standard shower curtain is 72 inches on each side. If you want a different size, you’ll need to adjust your fabric amount.
With fabric that’s 45” or 54” wide, you’ll need about 5 yards. This covers piecing it together and the seams. Choose wider fabric, like 108” or 110”, and you might only need 2 ½ yards. This calculation includes a 72″x72″ shower curtain, plus 9 inches for top and bottom hems.
If you’re going for a more gathered look, use wider fabric. Your fabric width should be 1.5 times wider than your shower area. For a very full curtain, double the width. So, for a 60-inch wide shower, use at least 90 inches of fabric.
Here’s a quick math for making a standard 75 by 75 inches curtain:
| Measurement | Fabric Panels Required |
|---|---|
| 75 inches (width) | Two panels of 84 inches length and 40 inches wide |
| 84 inches (length) | 2 and 1/3 yards |
Remember, when you’re working with printed fabric, you might need more for matching patterns at the seams. So, make sure to account for this when planning your shower curtain project.
Choosing the Perfect Fabric for Your Shower Curtain
Starting the project to make your own shower curtain means picking the right fabric first. The material you choose affects both how the curtain works and looks. You’ll be choosing from key fabric types that match your bathroom’s style and your personal taste.
Types of Fabric: Cotton, Polyester, and More
Different fabrics are favorites for shower curtains because they offer unique advantages. Cotton blends are soft and absorbent, making them a fancy choice. On the other side, polyester is known for lasting a long time and resisting water, perfect for damp areas. Vinyl options are low-cost, easy to clean, and offer privacy with different finishes.
Also, thicker fabrics might not need extra support for grommets due to their weight. Looking for an eco-friendly choice? Think about using recycled polyester or organic cotton. These materials fit well into any shower curtain design, whether simple or complex.
Fabric Patterns and Designs
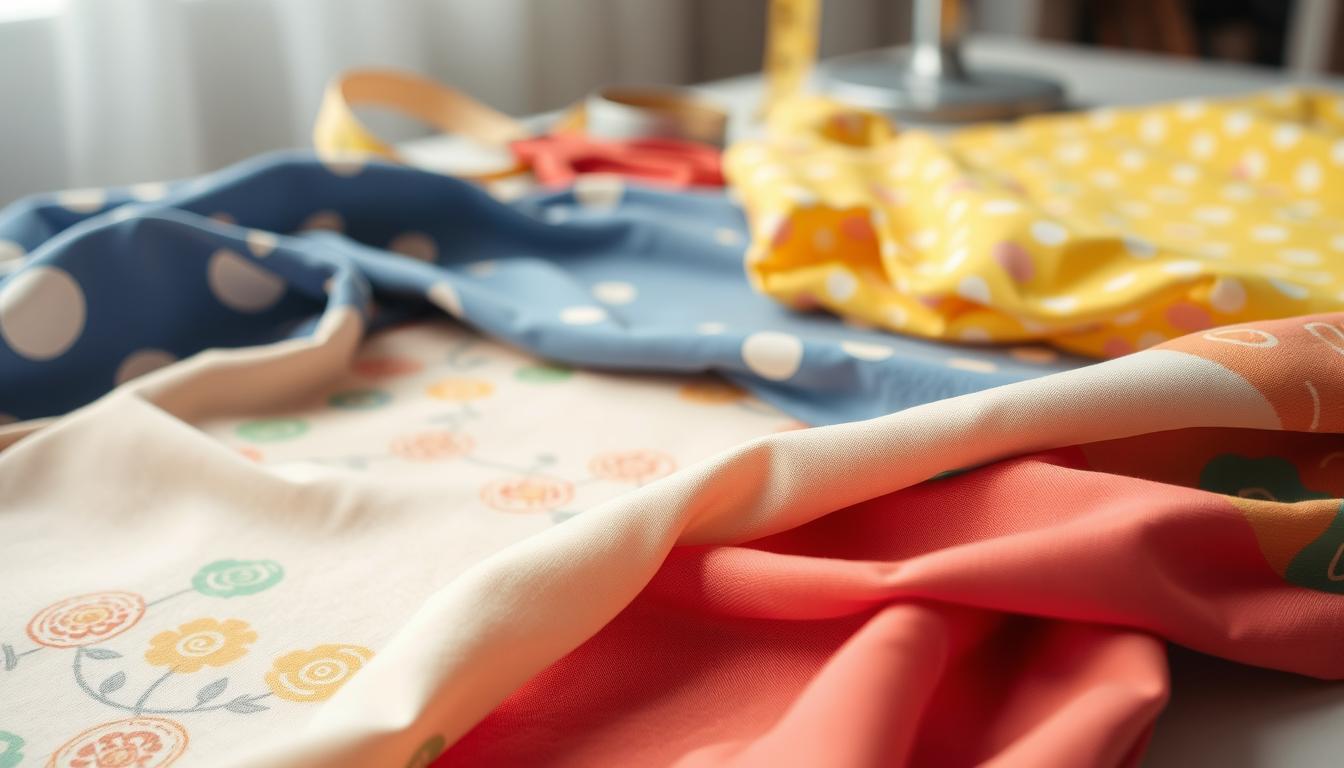
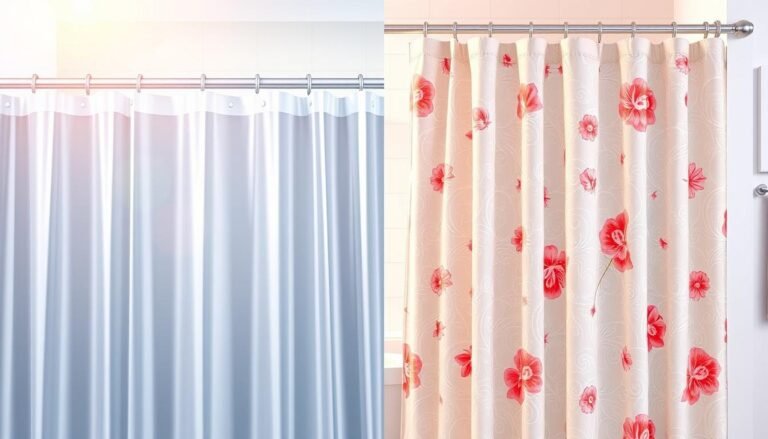
The pattern on your shower curtain fabric greatly affects your bathroom’s overall look. Using bold prints or botanical designs can make a small space seem bigger and livelier. Stripes and polka dots add timeless appeal, while unique patterns can set a specific mood, like nautical or country.
Services like Spoonflower let you pick from many patterns or create your own for a custom look. You can also blend standard patterns with other bathroom accessories for a unified look. Check out different shower curtain designs for ideas on mixing patterns and fabrics to upgrade your bathroom.
To keep your shower curtain looking new, pick materials that resist mold and mildew. For tips on maintaining pool covers in top shape, learn how to properly take care of.
Calculating Fabric for a Standard Shower Curtain
To make the perfect shower curtain, you need to know the standard size. A normal shower curtain is 72 inches square. This size covers the shower completely.
Measurements for a 72” x 72” Curtain
If you’re making a standard 72″ x 72″ curtain, you’ll need about 5 yards of fabric. This is if the fabric is 45″ or 54″ wide. You’ll need 2 ½ yards for fabric that’s 108″/110″ wide. Here’s how to figure out how much fabric you need:
- First, measure your shower’s width and multiply by 1.5 for normal gathering. For more fullness, multiply by 2.
- Then, add 9 inches to the length for hemming.
- Finally, divide this length by 36 to find out how much fabric you need in yards. For example, an 84″ length needs about 2 and 1/3 yards of fabric.
Cut your fabric into two equal parts. You can learn more about this in a SewCanShe tutorial. It teaches how to sew pieces together for a patchwork look. This method makes sure the pieces match up nicely.
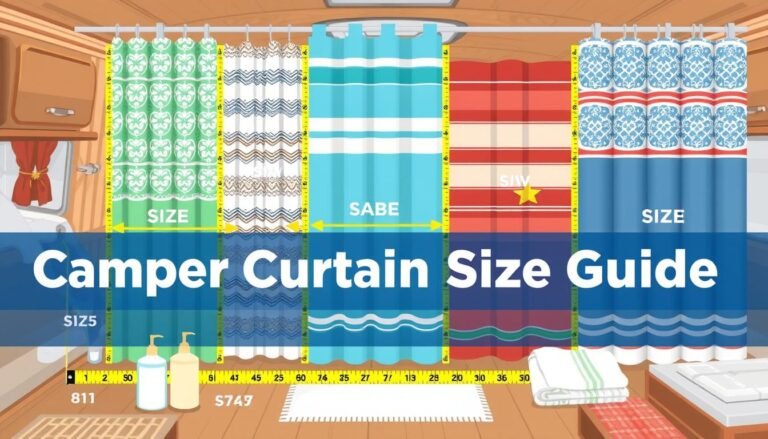
Adjusting Measurements for Custom Sizes
If you want a custom-sized shower curtain, start with your shower’s exact dimensions. Here’s what to do next:
- Pick the new width you want. Then use the formula: width x 1.5 for normal gathering or width x 2 for more fullness.
- Find the length you need, add 9 inches for hemming, and turn that into yards by dividing by 36.
- If you’re using large print fabrics, you might want to buy an extra yard for pattern matching.
If the fabric isn’t wide enough for your custom size, you’ll need a center seam. Try to match patterns or prints here to hide the seam.
For tips on aligning large prints at the seam, check out this page.
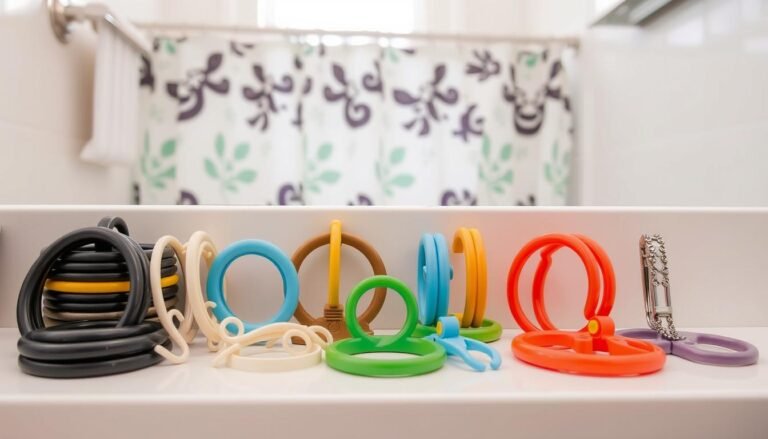
A standard 72″ shower curtain usually has 12 holes for the hooks. Getting your fabric amount right helps you make a unique curtain. This can really improve your bathroom’s look.
| Fabric Width | Required Yardage |
|---|---|
| 45” or 54” | 5 yards |
| 108” or 110” | 2 ½ yards |
Preparing and Prewashing Your Fabric
Prewashing fabric for sewing is key when making a shower curtain. It reduces shrinkage and keeps colors true, important for your project’s lifespan. Prewashing cotton, linen, or other fabrics helps you cut and sew accurately.
Wash the fabric in warm water and dry it on a low heat. This step is vital for cotton fabrics, which shrink easily. It also prevents dye from bleeding, a common problem. For instance, quilts can bleed colors in their first wash. Linen, known to shrink a lot, should be pre-treated in hot water. This stops it from shrinking later on. Check out how to pre-treat fabrics for more tips.
Below is a comparative table to help you understand different prewashing protocols for various fabrics:
| Fabric Type | Washing Temperature | Shrinkage Level | Special Considerations |
|---|---|---|---|
| Cotton | Warm | High | Dry on low setting |
| Linen | Hot | Maximum | Dry cleaning can maintain crispness |
| Polyester | Cool | Low | Washing before sewing is optional |
Use gentle detergents, like Dawn, when prewashing. It’s better at managing fabric dyes than Synthrapol. Vivid colors, especially reds, may need longer soaking times to avoid bleeding. Soaking for at least 8 hours helps prevent color loss.
Preparing your fabric correctly is crucial. Treat delicate fabrics like linen with extra care during layout and cutting. Learning these DIY shower curtain steps will ensure your project looks great and lasts long.
Creating Your Shower Curtain Sewing Pattern
Making a shower curtain yourself is a rewarding project. Begin by trimming your fabric to the sizes needed. For a standard shower curtain of 72″ x 72″, make two panels. The usual fabric width is 42 inches. So, measure and trim each panel to 42″ x 90″. Join them with at least a 5/8 inch seam allowance. A flat felled seam gives a clean finish on the fabric’s back.
Step-by-Step Guide
Then, strengthen the top edge of your curtain. This is key if you’re adding grommets or buttonholes. Use a double fold hem for extra durability. Place each buttonhole using a standard curtain as a guide. This matches up with your shower liner. You might also add weights or magnets in the bottom hem corners. This helps your curtain hang nicely.
If you’re looking for a step-by-step tutorial, check out how to sew a patchwork shower. This guide covers everything from cutting to sewing to finishing your fabric. It ensures your curtain is durable and looks great.
Tips for Matching Patterns
Working with patterned fabric requires you to line up the designs at the seams. This might mean using extra fabric and careful planning. Though matching patterns can waste some fabric, the final look is worth it. Always straighten your fabric before cutting for precise results. To get a consistent hem, fold the edges twice and press them. This leads to a sleek edge.
Following these steps, you can make a beautiful shower curtain. The detailed process allows you to add a unique flair to your bathroom. It shows off your sewing talent and creativity.

Hey there, I’m Alex Hanson and I’m passionate about all things covers! Whether you’re looking for a car seat cover to protect your vehicle or an oven cover to keep your kitchen clean, I’m here to help. With years of experience in the industry, I have plenty of knowledge and insights to share with my readers. So, if you care about protecting your belongings and making them look their best, you’re encouraged to read my blog as I explore the perfect cover for every need.

