DIY Fabric Shower Curtain Guide – Create Yours Today!
Making your own DIY fabric shower curtain lets you express yourself. It also ensures a perfect match for your bathroom’s design. This fabric shower curtain sewing guide will cover everything from choosing fabric to adding the finishing touches. By following these steps, you can make a curtain that enhances your bathroom.
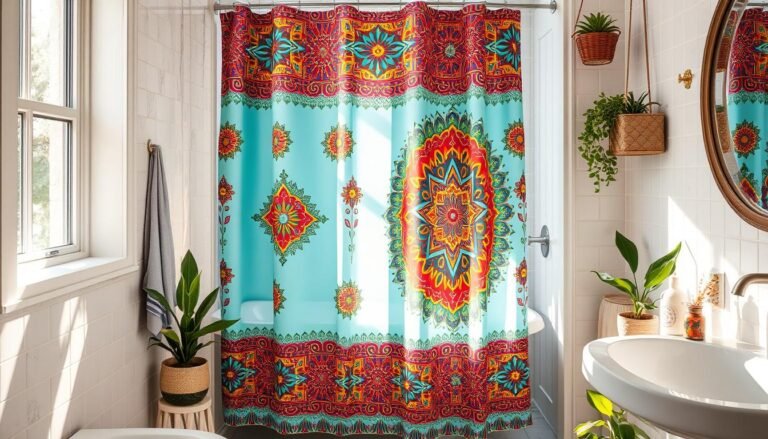
The project we feature used the Sevilla Blanco Spanish Tile print by Heather Dutton. This highlights the vast choices for customization. By selecting fabrics from places like Spoonflower or repurposing materials like vintage tablecloths, you can create something special. Whether you choose a vibrant print or something more understated, your shower curtain fabric crafts project can be a focal point at home.
It’s important to collect your supplies before starting your project. A curtain for an 8-foot ceiling might need around 6 yards of fabric. This amount helps your curtain cover the space well and look great. For detailed steps, see this tutorial on making an eye-catching shower curtain.
Why Choose a DIY Fabric Shower Curtain?
Choosing a DIY fabric shower curtain can make your bathroom stand out. If you follow a handmade shower curtain tutorial or design from scratch, you get to pick special fabrics. It’s all about showing off your personal style.
Imagine turning window curtains into a shower curtain. This article shows it boosts creativity over buying ready-made ones. Your bathroom becomes more than just a room. It turns into a reflection of your taste.
A taller shower curtain, like one at 86 inches, adds luxury to your bathroom. Sewing buttonholes means simplicity in hanging it up. Tutorials handmade shower curtain tutorial explain making a curtain that’s both personal and stylish.
Adding unique touches like blue glass tiles from Lowes and Ben Moore’s ‘Tranquility’ paint shows off design skills. It proves that creating a fabric shower curtain is more than just sewing. It’s about bringing your vision to life.
The table below sets DIY fabric shower curtains against traditional ones. It shows how DIY options allow for more freedom and personal touches.
| Feature | Traditional Shower Curtains | DIY Fabric Shower Curtains |
|---|---|---|
| Material Variety | Limited to available stock | Wide range based on creative selection |
| Customization | Pre-designed patterns | Fully customizable in size and design |
| Installation | Standard sizes and hook placements | Custom fits and personalized hook placements |
| Combination with Decor | Match available designs | Can be matched with bathroom decor from paint to tiles |
In the end, making your own fabric shower curtain connects your bathroom to the rest of your home’s design. You get to play with window curtains, colors, and tiles, ensuring your bathroom is fully your style.
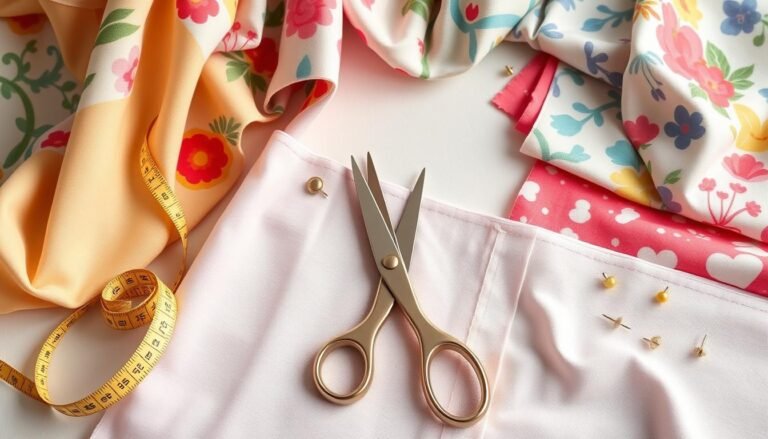
Essential Supplies for Creating a Fabric Shower Curtain
Making a custom fabric shower curtain is fun. It begins with choosing the right materials and tools. Your choices affect your curtain’s design and how it works. Let’s look at the important supplies you’ll need. I’ll also share tips to help with your DIY project.
Fabric Selection
The fabric you pick is key to your curtain’s look and strength. You might want a vintage or modern feel. Brands like Spoonflower have many textiles to fit your style. Remember, shower curtains are usually 72 inches wide. You’ll often need to join two pieces of fabric. For a standard size, cut your fabric to about 84 inches long. This allows for hems and gives it a nice hang.
A tip: use 100% cotton decorator fabric. It’s easier to sew than other types. Always wash your fabric first to prevent shrinkage. Washing it first helps it last longer, despite some lint.
Sewing Machine and Other Tools
A good sewing machine is key for fabric crafts. It helps you join fabric, make pleats, and hem edges. Look for a machine with an automatic buttonhole foot. This makes adding buttonholes (6 inches apart) easier. Use a 1/2 inch seam allowance for joining pieces. And a 4-inch double-fold hem at the bottom.
You’ll also need fabric scissors, measuring tape, pins, and drapery header tape. The header tape keeps the top of your curtain from drooping. It makes it look professional.
With these supplies, you can make a special shower curtain for your bathroom. For more ideas and how-tos, visit more DIY guides.
How to Make a Shower Curtain Out of Fabric
Making a custom shower curtain can really change your bathroom’s look. We’ll show you how to create one from fabric. First, we wash and iron the fabric. Then, we measure and cut it. Last, we sew it all together.
Pre-washing and Preparing Your Fabric
Start by washing your fabric. This prevents it from shrinking later on. After it’s dry, iron out any wrinkles. Smooth fabric makes for easy cutting and measuring.
Measuring and Cutting the Fabric
Shower curtains are usually 72 inches square. But, feel free to make yours longer or wider. Measure from the curtain rod down to where you want the bottom of the curtain. Add 8 inches for hems. If your fabric is 42-inch wide from Spoonflower, you’ll need 5 yards for seams and overlap.
Now cut your fabric into 80-inch lengths. This includes space for hems at the top. Don’t forget to add an extra 1/2 inch if you’re joining panels. A 3-inch fold at the top makes it stronger.
Sewing the Fabric Pieces Together
Once cut, match any patterns and sew the pieces. You can use different seams, including the flat felled for a neat look. For sewing, a heavy-duty Singer sewing machine is great. It’s been reliable since 1973. It also comes with a buttonhole foot, perfect for making hanging holes or grommets.
Next, create 12 buttonholes or attach 12 grommets across the top hem. Then, hem the sides by folding the fabric edges over twice. This gives a neat finish. Strengthen the top with some fusible interfacing, too.
Follow these steps, and you’ll make not just any shower curtain but a beautiful addition to your bathroom. For more advice, check out resources like this detailed guide.
Sewing Techniques for Your Handmade Shower Curtain
When you make your DIY fabric shower curtain, it’s important to focus on durability and function. You’ll need to reinforce the top edge, add buttonholes, and hem the edges. Let’s go over each of these steps to make your curtain even better.
Creating Reinforced Top Edge
Start with reinforcing the top edge for extra strength. Fold the fabric 2 inches over and press it. Then, fold a 1/2 inch of the raw edge inside. Sew along the top fold to keep it in place. This makes a strong top edge for the buttonholes. This way, your handmade shower curtain won’t easily tear from the rings or hooks.
Adding Buttonholes
Space your buttonholes evenly, about 6 inches apart. They should be 7/8 inch long. You can make them with a sewing machine’s one-step buttonhole foot. Or use grommets for a sleek look. Try making buttonholes on some test fabric before you start on your curtain.
Hemming the Edges
Fold and iron each side seam 1 inch for a clean edge. Sew along the edge. Do the same for the bottom of the curtain so it looks neat. Hemming makes your shower curtain look good and last longer.
Using these fabric shower curtain design tips will improve your project. It will make it both useful and fashionable for your bathroom.
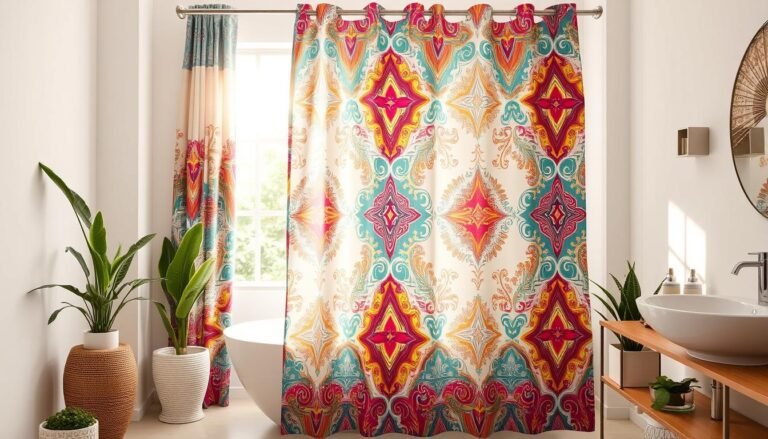
Design Ideas for Your Fabric Shower Curtain
Starting with personalizing your bathroom means looking into fabric shower curtain ideas. Think about the material first. Poly/cotton blends are chosen often because they’re light and let some light into the shower. For something strong and resistant to mold, Sunbrella fabric stands out, and it doesn’t need a liner.
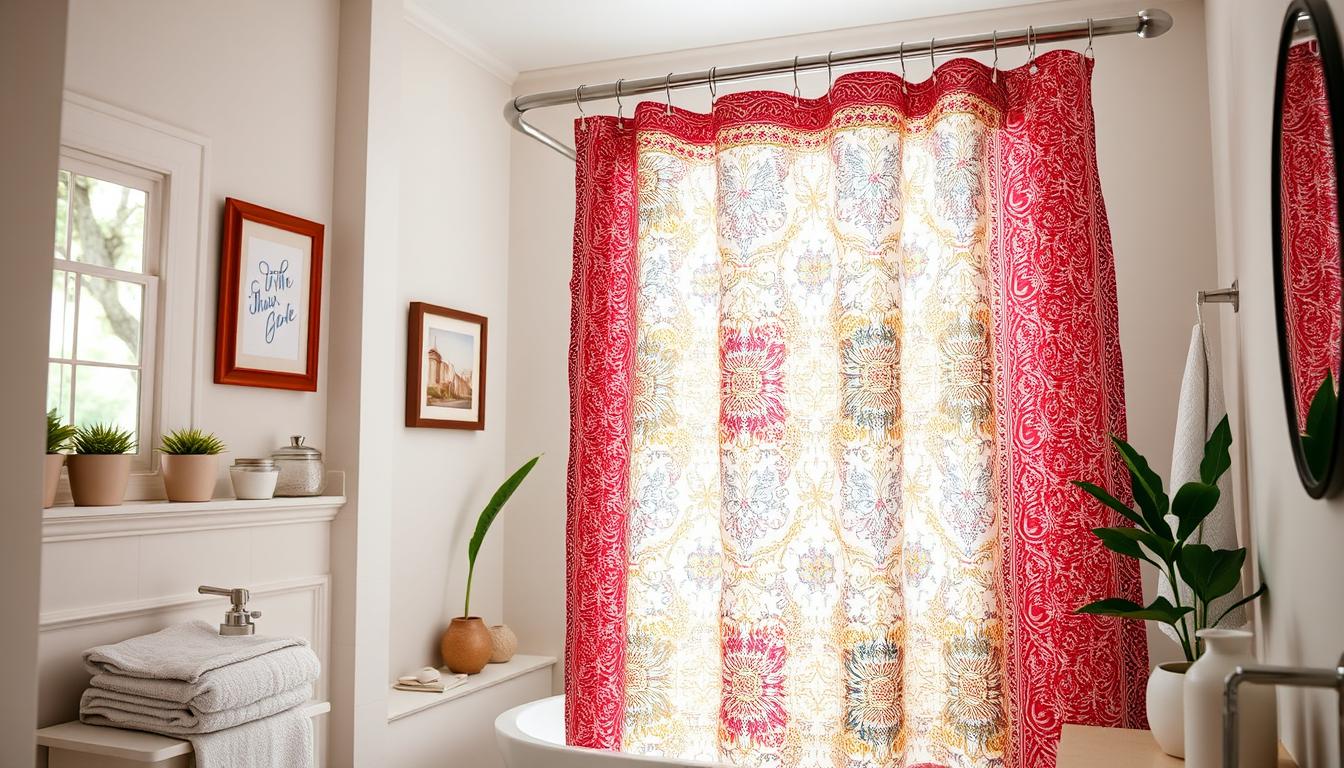
Trying out window drapery panels instead of usual shower fabrics is a fun idea. You could get two panels, 54″ wide each, from Target to make a total of 108″ wide. Selecting an 84″ length gives your bathroom a taller look, making it seem bigger. To hang them, you’d use a rod that’s 2.5 inches thick. Normally, you would use 12 hooks, sharing them between the panels.
Choosing a grommet style top makes hanging on a shower rod simple. For extra style, add a fancy fabric strip with Stitch Witchery. It’s a simple and neat method. Or, go for buttonholes for a different look.
Your curtain’s look is just as important as the fabric type. Full-length curtains can make your bathroom seem taller. Big, bold patterns can be the main attraction, while using two panels adds flow and elegance.
DIY fans love using sheets because they’re versatile and easy to work with. Combined with a plastic liner, they become both practical and stylish. People from places like Wisconsin, Nebraska, and Florida have shared their fabric shower curtain design tips online. This shows many enjoy doing this kind of project.
By looking into different fabric shower curtain ideas, you can really change how your bathroom looks. It turns into a space that feels more like it’s truly yours.
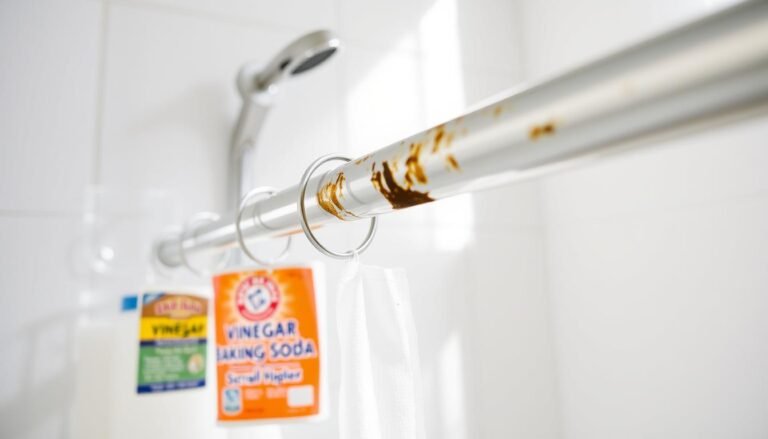
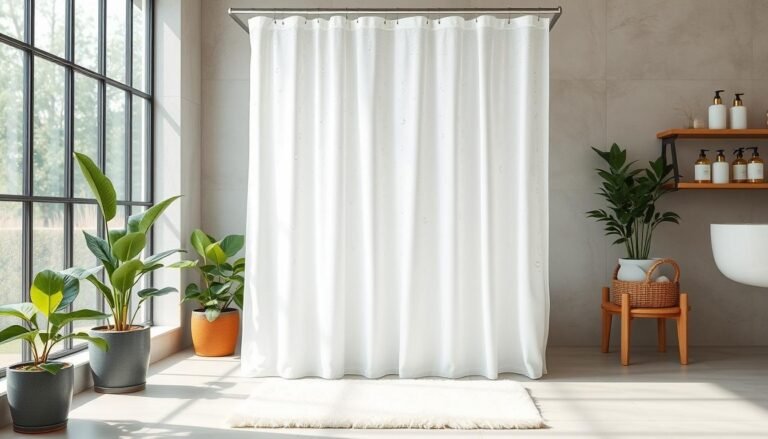
Tips for Hanging and Maintaining Your Homemade Fabric Shower Curtain
Hanging your homemade fabric shower curtain the right way is key. Start by getting an extra-long shower curtain liner for tall setups. This makes your bathroom look better. Place the curtain using the liner to mark where the buttonholes should go. Making strong buttonholes helps them last longer and makes them easy to use.
To keep your fabric shower curtain looking good, wash the fabric first. This stops it from shrinking later. Iron the fabric well before putting it up for a sharp look. This also shows off your DIY skills. Wash it regularly by following the fabric care tips. Use gentle soap and skip the bleach to keep the fabric in top shape.
Want to know more about making a DIY fabric shower curtain and cornice board? Check out this detailed guide. It gives you step-by-step instructions and tips for accessories. This guide makes sure your DIY project turns out great.
Finally, the right supplies, like high-quality curtain rings and a strong liner, are very important. These tips help your homemade fabric shower curtain look and work great for a long time.

Hey there, I’m Alex Hanson and I’m passionate about all things covers! Whether you’re looking for a car seat cover to protect your vehicle or an oven cover to keep your kitchen clean, I’m here to help. With years of experience in the industry, I have plenty of knowledge and insights to share with my readers. So, if you care about protecting your belongings and making them look their best, you’re encouraged to read my blog as I explore the perfect cover for every need.