DIY Duvet Cover: How to Make With Sheets
Updating your bedroom look doesn’t have to be pricey. No need for new beds. Just change the duvet covers. This simple sewing tutorial shows you how to use flat sheets you love for a new, reversible duvet cover. It’s perfect for those who love DIY. You can easily switch your bedroom style with the seasons or your mood.
Making your duvet cover means it’ll match your comforter perfectly. It’s a fun way to make your bedding unique. Just follow our easy steps to start your diy duvet cover project today.
Don’t forget to wash your sheets first to avoid shrinking issues. With everything ready and our guidance, you’ll make a stunning duvet cover. It will fit well and make your room look special.
Materials and Tools Needed for DIY Duvet Cover
Making your own duvet cover is fun and satisfying. This guide will give you a list of everything you need for the project. Learn what sewing materials and tools are required to turn sheets into a duvet cover.
Essential Supplies
- Two matching flat sheets (size appropriate for intended duvet cover)
- Sewing machine
- Straight pins
- Fabric scissors
- Snap setter with snaps or 2″ spacing snap tape
- Coordinating thread
Optional Additions
You might also want to add these for more style or function:
- Grosgrain ribbon for interior ties to secure the comforter
- Zipper instead of snap tape for alternative closing method
- Trims and decorative elements for a unique touch
Choosing the Right Sheets
Picking the right sheets is key. You want ones that look good and work well. Choose comfortable, easy-to-sew fabrics like organic cotton or linen. Make sure the sheets are big enough for cutting and sewing.
- Check sheet size and fabric width (recommended 54″ to minimize piecing together)
- Opt for fabrics that match or complement your room decor
- Consider durability and ease of maintenance
This guide ensures you’re ready to begin your duvet cover project. By selecting the right sheets and considering extra options, you can make a duvet cover that’s both unique and high-quality.
Preparing Your Sheets
Start your duvet cover project with some prep to get a great finish. Here are the first steps to get ready.
Washing and Ironing
First, always wash your fabric. Linen and cotton might shrink, so wash them in cold water first. This step stops surprises in size after you’re done.
Next, iron the sheets. This makes them smooth for precise measuring. Smooth, wrinkle-free sheets make the next parts easier.
Measuring and Cutting
Getting your sheets measured right is key. Here’s how to do it right for duvet covers:
- A standard full-sized duvet needs about nine yards of fabric, while queen or king sizes need about twelve yards.
- Plan side openings at 13 cm (5 inches) and the bottom opening at 79 cm (31 inches).
- Include a 3-inch seam allowance on the edges and add a bit more fabric (10%) for possible shrinkage.
Then, cut your sheets based on these marks. Make sure the fabric pattern lines up. Right measurements mean your duvet cover will fit perfectly later.
Wash, iron, and measure wisely, and you’ll find making a duvet cover easy. These steps set you up for a smooth sewing project.
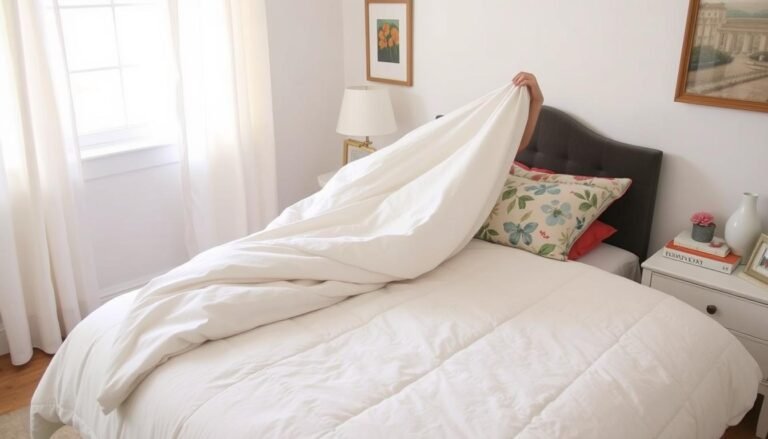
How to Make Duvet Cover with Sheets
Making your own duvet cover can be both fun and satisfying. This DIY tutorial will show you the steps. You will use flat sheets to cut costs and get a tailor-made look.
Aligning the Sheets
Place your two flat sheets on a big, flat area with the pretty sides together. Make sure the edges line up perfectly. Getting this right is key for a tidy and professional look.
Pinning and Sewing
Pin the edges of your sheets all around, but leave a space for the duvet to go in. Start sewing along the pinned lines. Keep your seam allowance consistent. Using these sewing instructions will make sure your stitches are neat and strong.
- Begin with a straight stitch around the edge.
- Hold your hand steady to keep the seam straight.
- Leave a 2-3 feet gap for putting the duvet in.
Creating the Opening
Once you’ve sewn the edges, flip the cover to the right side. Iron the seams flat for a neat finish. Then, fold the fabric at the opening about 1/2 inch two times and sew it. You can also use buttonholes or snaps for closure. The hardest part is actually inserting the duvet!
For more tips and creative ideas on bedding, check out CoverAdvice. They have lots of innovative ways to enhance your DIY duvet cover.
Adding Finishing Touches
After you build your DIY duvet cover, think about adding final touches. These steps make your duvet cover useful and pretty. They also make sure it fits your bed perfectly.
Attaching Closures (Snaps or Velcro)
One key tip for duvet covers is adding closures. Using snaps or Velcro keeps the duvet in place. This makes it easy to take care of. Choose snaps for a classic look or Velcro for something easy to use.
Adding closures stops the duvet from moving around. Your bed will stay neat and tidy. It’s a choice between snaps for tradition or Velcro for convenience.
Optional Ties to Keep Comforter in Place
Sewing ties inside your duvet cover is also smart. They keep the comforter from getting messed up. This small step makes bedtime better.
These ties also speed up making your bed. You won’t have to fix your bedding as much. You can use fabric ribbons or buy ties for this purpose.
Including these final touches opens up design options for your duvet cover. You can match the ties, snaps, or Velcro with the style of your duvet. This way, your bedding looks good and works well.
| Feature | Benefits | Suggestions |
|---|---|---|
| Snaps | Secure closure, traditional look | Match with duvet fabric, reinforce edges |
| Velcro | Easy to use, modern approach | Use soft Velcro to avoid rough texture |
| Ties | Keeps comforter in place, adds decorative element | Sew at each corner and midpoint for stability |
Benefits of a DIY Duvet Cover
Making your own duvet cover is rewarding. It brings a unique touch to your home while saving money. Personalized designs and cost benefits make this DIY a smart choice.
Cost-Effective
Homemade duvet covers save money. Fabric for a king-size cover costs $2 to $6 per yard. You’ll need about 12 yards. This makes DIY much cheaper than buying. You can also pick from budget-friendly fabrics. Choose polyester or cotton blends and still get quality.
Learn how to make your own duvet. See the savings yourself.
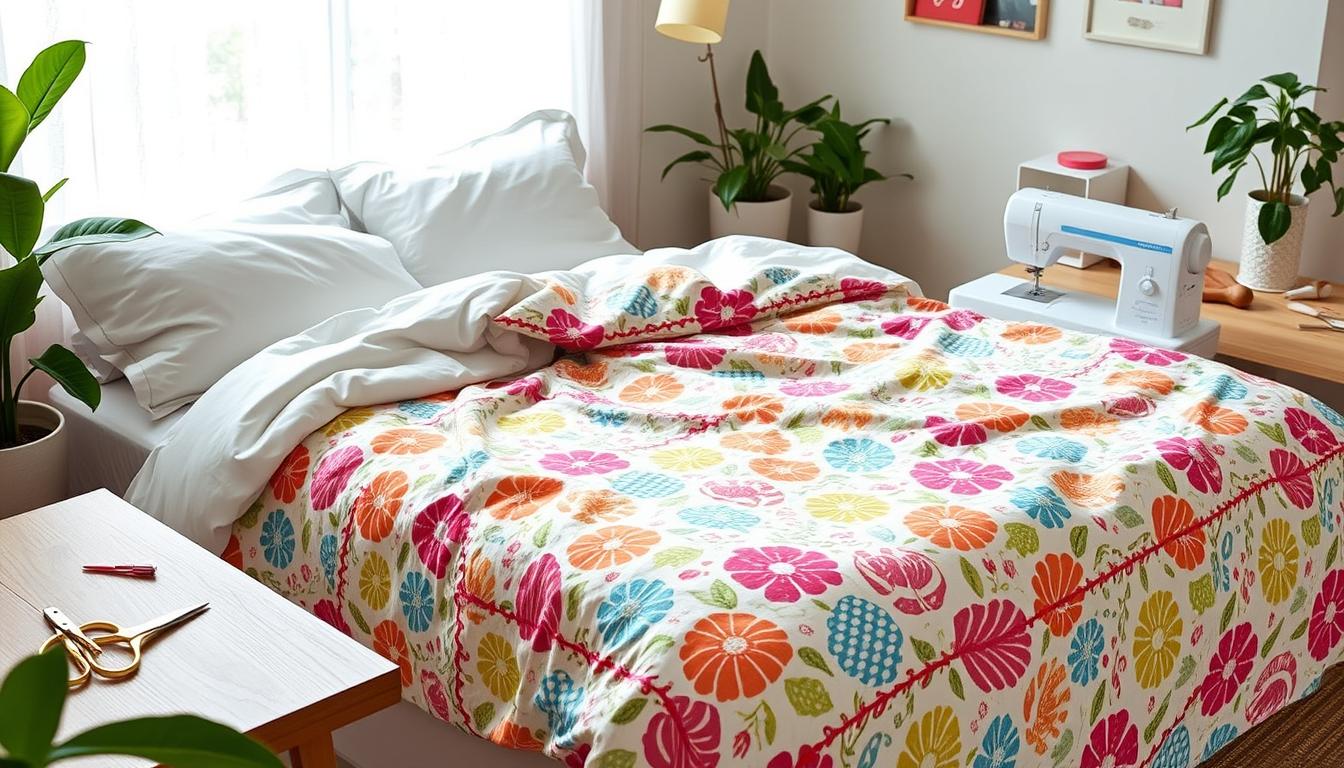
Customizable Designs
DIY lets you customize. With this personalized bedding tutorial, find sheets that match your room. Choose from bold patterns, soft colors, or high-quality cottons. Your duvet cover will show off your style.
Easy Maintenance
Cleaning is a breeze with simple duvet cover cleaning. Unlike comforters that need dry-cleaning, you can machine wash a DIY cover. Just remove and wash it easily. It stays fresh with little work.
In the end, DIY duvet covers offer many advantages. They’re budget-friendly, customizable, and easy to care for. Try making one to see these benefits for yourself.
Tips and Tricks for a Professional Finish
To make a duvet cover like a pro, focus on the details. This can make your project look store-bought. It’s important to measure precisely. For instance, adding a 5″ seam allowance gives extra room for the duvet insert. Using French seams makes the edges look polished. With these techniques, your duvet cover will seem professionally made.
Keeping the seams consistent is key. Uniform stitching prevents skewed lines and fabric bunching. Snaps are great for securing the cover and make changing the duvet easier. These tips can make your homemade duvet cover look pristine and work perfectly.
The final steps add a special touch to your DIY bedroom decor. Ironing the duvet cover gets rid of wrinkles for a clean look. Pre-wash the fabric to avoid shrinking issues later. Combining different fabrics like linen and quilted cotton adds interest to your bedding. Check out more tips here. Mastering these details will make your DIY duvet cover stand out, giving your bedroom a personal and luxurious feel.

Hey there, I’m Alex Hanson and I’m passionate about all things covers! Whether you’re looking for a car seat cover to protect your vehicle or an oven cover to keep your kitchen clean, I’m here to help. With years of experience in the industry, I have plenty of knowledge and insights to share with my readers. So, if you care about protecting your belongings and making them look their best, you’re encouraged to read my blog as I explore the perfect cover for every need.