How to Remove Toilet Seat Cover: Easy Steps
Removing a toilet seat cover is easier than you think. This guide will show you how to do it step by step. You’ll be able to do it without any trouble.
It only takes a few minutes to remove a toilet seat cover. With the right tools and a bit of knowledge, you can replace it in 15 to 20 minutes. This guide will tell you what tools you need, how to stay safe, and how to handle different fasteners.
Before you start, know that toilet seats last about 5 to 7 years. If yours is worn out, it’s time for a new one. A new seat costs between $20 and $100, depending on what you choose.
We’ll go into detail about toilet seat covers, the tools you need, and how to remove it step by step. Whether you’re dealing with easy bolts or tough, rusty ones, this guide has everything you need to know.
Understanding Toilet Seat Cover Anatomy
Toilet seat covers are key to bathroom comfort and cleanliness. To take them off or put on a new one, you must know their parts. Let’s look at the different toilet seat cover styles and how they’re made.
Types of Toilet Seat Covers
Toilet seat covers vary in size and shape. The main types are:
- Standard round
- Elongated
- Bidet-compatible
- Open-front (often found in public restrooms)
Common Fastening Mechanisms
The hinges on toilet seat covers differ in design and purpose. Some common ones are:
- Bolt and nut combinations
- Quick-release hinges for easy cleaning
- Top-mounting systems
Materials Used in Toilet Seat Covers
The materials used in toilet seat covers affect their durability and feel. Popular choices are:
| Material | Pros | Cons |
|---|---|---|
| Plastic | Affordable, easy to clean | Less durable |
| Wood | Aesthetically pleasing, warm to touch | Can absorb moisture |
| Duroplast | Highly durable, resistant to scratches | More expensive |
Knowing these details helps you pick the best toilet seat cover and keep it in good shape. Also, remember that newer toilets have modern designs and better features, like float cups for sensing water levels instead of old float ball systems.
Tools Needed for Toilet Seat Cover Removal
Removing a toilet seat cover is easy and only needs a few tools. Most people already have these tools in their home or garden shed. Let’s look at the key tools you’ll need for this quick job.
- Flathead screwdriver
- Adjustable wrench or pliers
- Utility knife (for stubborn sealant)
Newer toilet seat models often come with their own tools. If your hardware is rusted, a rust penetrant can help. Use it 5-10 minutes before you start to loosen the bolts.
Toilet bowls come in two sizes: round (16½ inches) and elongated (18½ inches). Make sure to measure your toilet before buying a new seat. With the right tools and patience, you’ll get your new seat up and running in no time.
“Having the correct tools for removing toilet seat cover makes all the difference in completing this task efficiently and safely.”
If you run into trouble, many manufacturers have videos on their websites. For more help, call customer service at 888.722.6488.
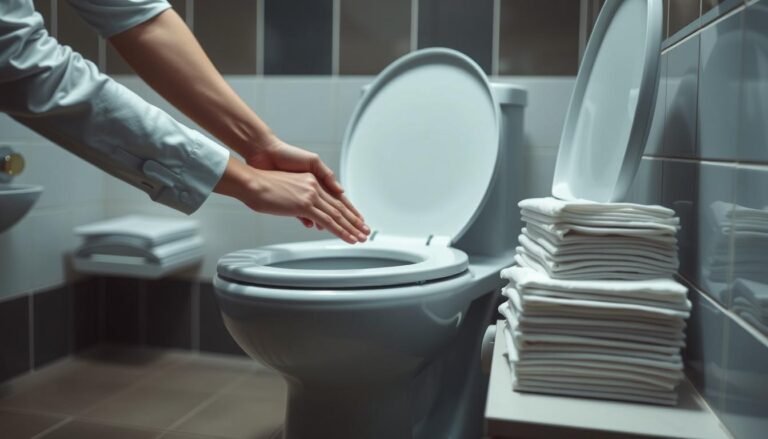
Safety Precautions Before Starting
Before you start removing your toilet seat cover, safety and hygiene are key. The right steps make your bathroom renovation smooth and keep your toilet in good shape.
Cleaning the Area
First, clean the toilet and around it well. This is important for keeping things clean and safe. Use a disinfectant to clean all surfaces, especially the seat and bowl.
Personal Protective Equipment
Wear the right gear to protect yourself:
- Gloves: Keep your hands safe from germs and chemicals
- Safety glasses: Protect your eyes from splashes or debris
- Face mask: Stay away from dust or fumes
Remember, your safety is the most important thing in any home project.
Proper Lighting and Workspace
Make sure your bathroom is well-lit. Good lighting helps you avoid accidents. Also, clear the area around the toilet for easy work.
By taking these safety steps, you’re ready for a successful toilet seat cover removal. With the right precautions, you can upgrade your bathroom safely and efficiently.
Locating and Accessing the Fasteners
To start removing the toilet seat hinge, first find the fasteners. Most toilet seats have two bolts at the back. These bolts are hidden under plastic caps for a clean look. To loosen the screws, you need to find and access these fasteners.
Look for small plastic covers at the toilet seat’s rear where it meets the bowl. These caps hide the bolts and keep the toilet looking neat. You might need a flathead screwdriver to gently pry off these covers. Be careful not to scratch the porcelain or damage the plastic.
Some modern toilets, like certain American Standard models, have hidden bolt systems. This makes removing the toilet seat hinge more difficult. In such cases, you may need to look for quick-release chrome buttons or specialized locking systems.
| Fastener Type | Location | Access Method |
|---|---|---|
| Standard Bolts | Rear of toilet seat | Remove plastic caps |
| Hidden Bolts | Underneath seat | Lift seat or press release buttons |
| Quick-Release Hinges | Back of seat | Press chrome buttons |
After finding the fasteners, get ready to loosen the toilet seat cover screws. Remember, the nuts are often under the bowl. You might need to reach under the toilet to hold them while unscrewing from above. Be careful when using metal tools to avoid chipping the porcelain.
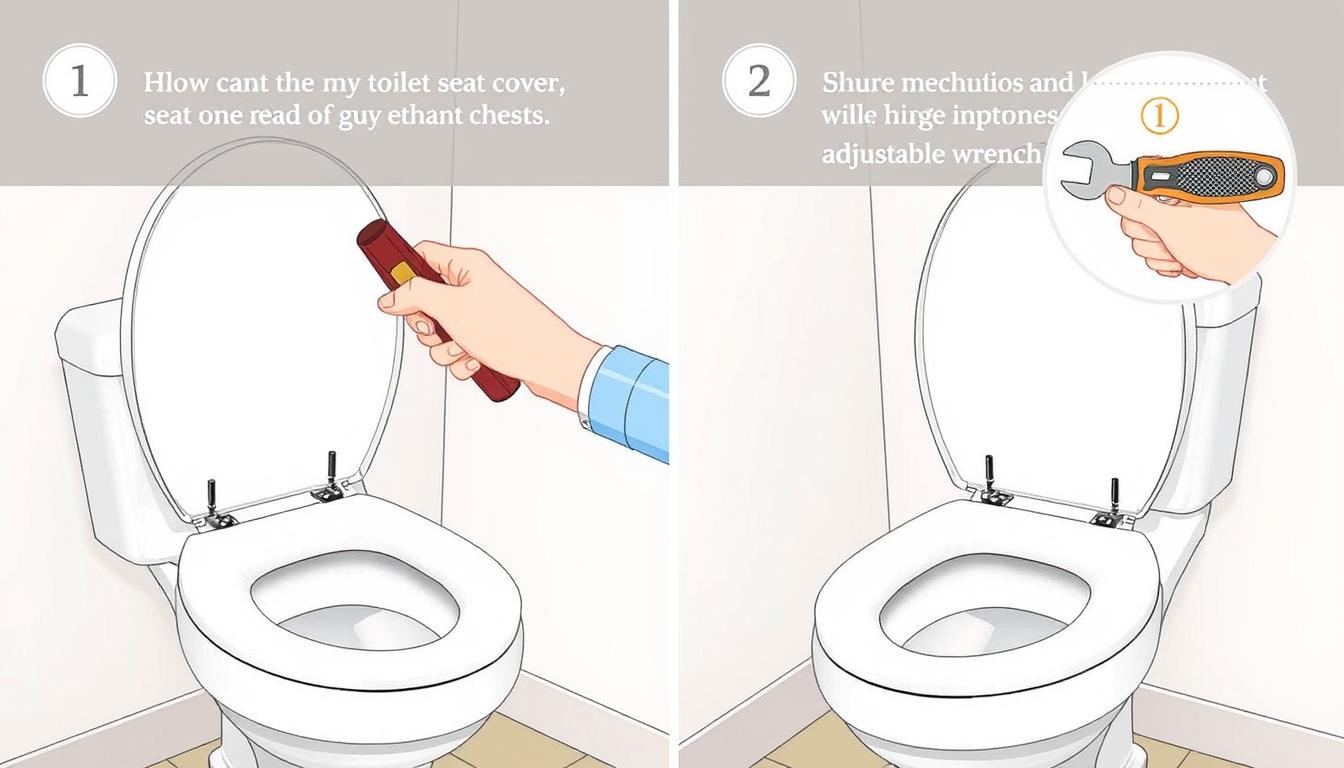
How to Remove Toilet Seat Cover
Removing a toilet seat cover is easy and can be done in about 27 minutes. This is the average time we spend on the toilet each day. Let’s look at how to remove a toilet seat cover effectively.
Removing Plastic Covers
First, find the plastic covers at the toilet seat’s base. These are on both round (16½” long) and elongated (18½” long) seats. Use your fingers or a flathead screwdriver to carefully remove these covers. This will show you the fasteners underneath.
Holding the Nut in Place
After removing the covers, you’ll see a nut holding the seat to the bowl. Use pliers or your hands to hold this nut steady. This is key for successfully unscrewing the toilet seat cover. If it’s hard, Bemis has installation videos for different models.
Unscrewing the Bolt
With the nut held tight, use a screwdriver to unscrew the bolt. Turn it counterclockwise until it’s loose enough to remove by hand. Modern seats, like Bemis, have easy-to-remove hinges for cleaning.
If you need help, call customer service at 888.722.6488. For more tips on toilet seat maintenance, visit The Reading Room on the manufacturer’s website.
| Seat Type | Length | Common Location of Fasteners |
|---|---|---|
| Round | 16½ inches | Base of seat |
| Elongated | 18½ inches | Base of seat |
Dealing with Stubborn or Rusted Fasteners
Removing a toilet seat cover can be tough, especially if the fasteners are stubborn or rusted. But, with the right tips, you can get through it.
For hard-to-move fasteners, try applying penetrating oil and wait a bit. Hold the nut with locking pliers and turn the bolt. If it doesn’t work, you might need to cut the bolt with a hacksaw or bolt cutter.
A survey of users offers helpful advice:
- 75% say using drills, wire saws, or Dremel tools helps with stubborn hardware
- 25% suggest warming up plastic bolts with a hairdryer
- 30% warn against using high-RPM tools to avoid accidents
It’s important to know that 85% of toilet seats have nuts under the bowl, making them hard to reach. Seats with the STAY-TITE® Fastening System™ are easier to remove. But, if the metal attachments are rusty, you might need to spend a bit more time.
| Fastener Type | Removal Difficulty | Recommended Tools |
|---|---|---|
| Plastic | Easy | Pliers, Screwdriver |
| Metal (Non-rusted) | Moderate | Wrench, Pliers |
| Rusted Metal | Difficult | Penetrating Oil, Hacksaw |
Plastic nuts are easier to remove than rusty steel ones after 6-7 years. Start with a small 1/8″ drill bit for hidden bolt heads. Gradually increase the size. Always be careful to avoid damaging the porcelain.
Lifting and Detaching the Seat Cover
Now that you’ve removed the fasteners, it’s time to take off the toilet seat. This process requires care and attention to detail. Let’s go through the steps to detach your toilet seat safely and efficiently.
Proper Technique for Removal
To detach the toilet seat, grip it firmly with both hands. Lift straight up, applying even pressure. This technique helps prevent damage to the porcelain bowl. Most seats come off easily, but if you encounter resistance, gently wiggle it side to side.
Remember, the average person spends up to 27 minutes daily on a toilet seat. So, it’s worth taking a few extra moments to remove it carefully.
Handling Fragile or Old Seat Covers
Older toilet seats require extra care when you disassemble them. They may be brittle or have loose parts. Support the entire seat as you lift to avoid cracking.
If your seat is particularly old, consider wearing gloves to protect your hands from any sharp edges.
Disposing of the Old Seat Cover
Once you take off the toilet seat, it’s time to dispose of it properly. Check your local waste management guidelines. Some areas allow toilet seats in regular trash, while others require special disposal.
If your seat is in good condition, consider donating it. Remember, toilet seats last 5-10 years with proper care. So, yours might still have some life left in it.
| Toilet Seat Type | Bowl Length | Standard Bolt Width |
|---|---|---|
| Round | 16 ½ inches | 5 ½ inches |
| Elongated | 18 ½ inches | 5 ½ inches |
By following these steps, you’ll successfully detach your toilet seat. Next, we’ll explore how to clean the toilet bowl before installing a new seat.
Cleaning the Toilet Bowl After Removal
Now that the toilet seat cover is off, it’s time for a deep clean. This is important for keeping your bathroom clean and ready for the new seat. Begin by scrubbing the whole bowl, focusing on where the seat was.
For a thorough clean, use a disinfectant cleaner. Lysol® Power Toilet Bowl Cleaner Lime & Rust is a great option. Apply it all around the rim and let it sit for 15 minutes to remove stains and limescale.
Scrub the bowl well with a toilet brush, getting under the rim and into the trapway. A pumice stone can help with tough mineral deposits. Don’t miss the bolt holes where the seat was. A toothbrush with castile soap is good for these small spots.
Flush the toilet to rinse off the cleaner and grime. For more cleaning power, sprinkle baking soda around the bowl and spray with white vinegar. This combo creates a fizz that helps remove tough stains.
Regular cleaning is essential for a clean bathroom. Lysol® suggests cleaning your toilet weekly to keep it fresh. Follow these steps to make your toilet spotless and ready for its new cover.
Preparing for New Toilet Seat Cover Installation
Are you ready to replace your toilet seat? Let’s get you ready for a smooth installation. Start by cleaning your toilet bowl well and drying it completely. This makes sure your new seat has a clean surface.
Then, measure your toilet. Toilet seats come in standard and elongated shapes. Make sure the new seat fits your toilet’s dimensions and bolt hole spacing. This is key for a proper fit.
Now, gather your tools and hardware. You’ll need a screwdriver, wrench, and possibly pliers. Also, check that your new seat comes with all necessary bolts, nuts, and washers. Some seats have plastic covers for the hinges, adding a nice finish.
- Clean and dry toilet bowl
- Measure toilet dimensions
- Gather tools and hardware
- Check for all necessary parts
Toilet seat covers are usually made of high-impact plastic or wood with a plastic coating. These materials are durable and easy to clean. Pick a color and style that matches your bathroom decor.
Remember, careful installation is important to avoid damage. Take your time and follow the manufacturer’s instructions. Once installed, check that the seat is secure and works well. With these steps, you’re all set for a successful toilet seat cover installation.
Troubleshooting Common Removal Issues
When you’re fixing toilets yourself, you might run into problems. Stripped screws can be a real pain. Use a screw extractor tool to get a better grip.
If the bolts are corroded, use a rust dissolver first. This can save you a lot of time and trouble.
Broken plastic parts can also be a challenge. You might need to carefully pry or cut them to remove them. Remember, being patient is important in these situations.
If your toilet keeps running or leaks, check the flapper, flush valve, and fill valve. These parts are often the culprits.
For ghost flushing or noisy toilets, look at the water supply valve and refill tube. Adjusting the lift chain and making sure the water level is right can fix many issues. If you’re not sure about anything, it’s okay to ask a professional. Keeping your toilet in good shape can avoid expensive repairs later.

Hey there, I’m Alex Hanson and I’m passionate about all things covers! Whether you’re looking for a car seat cover to protect your vehicle or an oven cover to keep your kitchen clean, I’m here to help. With years of experience in the industry, I have plenty of knowledge and insights to share with my readers. So, if you care about protecting your belongings and making them look their best, you’re encouraged to read my blog as I explore the perfect cover for every need.