Shorten Your Shower Curtain Easily: DIY Guide
Have you ever wondered about DIY shower curtain alterations? Kim and Scott from Yellow Brick Home have the answer. They offer a great way to shorten your shower curtain. This gives your bathroom a neat and professional look.
If your shower curtain is too long or you just want to change its length, our guide is here to help. It makes the job easy. Say hello to a shower curtain that fits just right and keeps water off the floor.
Our DIY method avoids the common problems of adjusting shower curtain lengths. We guide you from picking the right tools to adding the final touch. It’s simple to do and ensures a perfect result.
Discover how easy changes can make a big difference in your bathroom. This guide shows how to tweak curtain lengths on a budget. Follow our easy instructions to boost the look and feel of your bathroom.
Understanding the Need to Shorten Your Shower Curtain
A well-fitted shower curtain significantly enhances a room’s look. It makes the space look dramatic yet refined. An overly long curtain might not suit a room with a low ceiling. It can lead to the fabric gathering on the floor. This not only looks untidy but can also be a tripping hazard. Adjusting the curtain’s length to just touch or float above the floor ensures both beauty and safety. Adjusting shower curtain length is key.
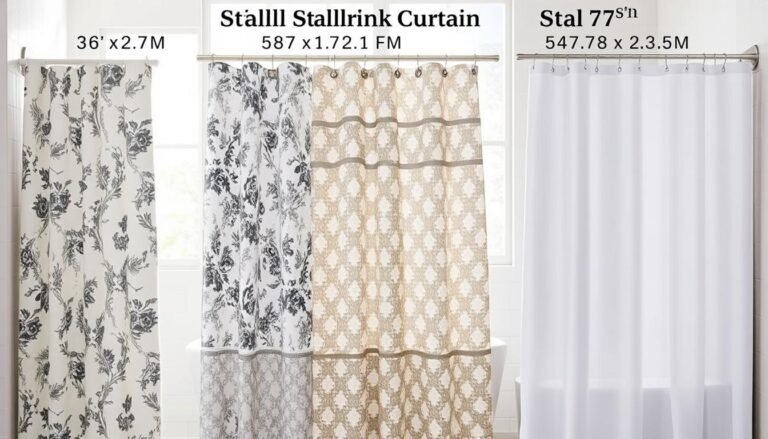
Standard curtain lengths include sizes like 63, 84, and 96 inches. A proper hem is crucial for a good fit. A 4 to 6 inch hem depth is often recommended. This helps with how the curtain hangs and distributes its weight. For long curtains from IKEA, for example, a 7-inch hem can give extra fabric. This allows for a better depth because these can be up to 118 inches long. Remember, ironing or steaming the curtain before hemming is advised for best results.
Not all brands keep the same width for their curtains, like IKEA. This means you must measure accurately from the top to the bottom. Even hemming ensures the curtain looks professionally made. Taking care when measuring and pinning is key, especially for a custom look.
Some people prefer curtains that just touch the floor for a modern feel. Others like a slight puddle on the floor for a traditional ambiance. A hem allowance of 1-2 inches usually works well. Folding the fabric under twice creates a neat double-folded hem. This should be secured with pins every 6-8 inches.
If sewing isn’t your thing, consider iron-on hem tape. It’s applied by folding the fabric twice at the marked line. Curtain clips or rings are another quick fix for shortening curtains without sewing. Adjustable rods can also help by changing the curtain’s height effortlessly. Just adjust the rod’s position for the desired length.
In conclusion, the right measurements and hemming are essential for a perfectly sized shower curtain. These tips guarantee your bathroom will look elegant and function well.
Preparing Your Materials and Tools
Start your DIY project by collecting the right materials and tools. This step is key for a smooth project. It makes the job easier and faster. Using items from IKEA Ritva Curtain Panels or adding your own style with drapery trim is important.
Required Materials
Here are the items you’ll need to shorten your shower curtain:
- IKEA Ritva Curtain Panels – 118 inches long
- Pleating hooks – count 8 pleat spaces
- Curtain rings
- Extra-long shower curtain liner
- Drapery trim (optional) for added style
Necessary Tools
Having the right tools makes your DIY project easier and more accurate. Make sure you have these essentials:
- Measuring tape
- Fabric scissors
- Sewing machine or needle and thread (sewing by hand takes longer)
- Iron and ironing board
- Fabric pins
Gathering these materials for DIY shower curtains sets you up for success. The right mix of materials and tools brings confidence to your project.
Step-by-Step: How to Make Shower Curtain Shorter
Shortening a shower curtain is easier than it sounds. With the right steps and tools, you can make a tailored curtain. We’ll show you how to measure, mark, cut, and hem to enhance your shower space.
Measuring and Marking the Curtain
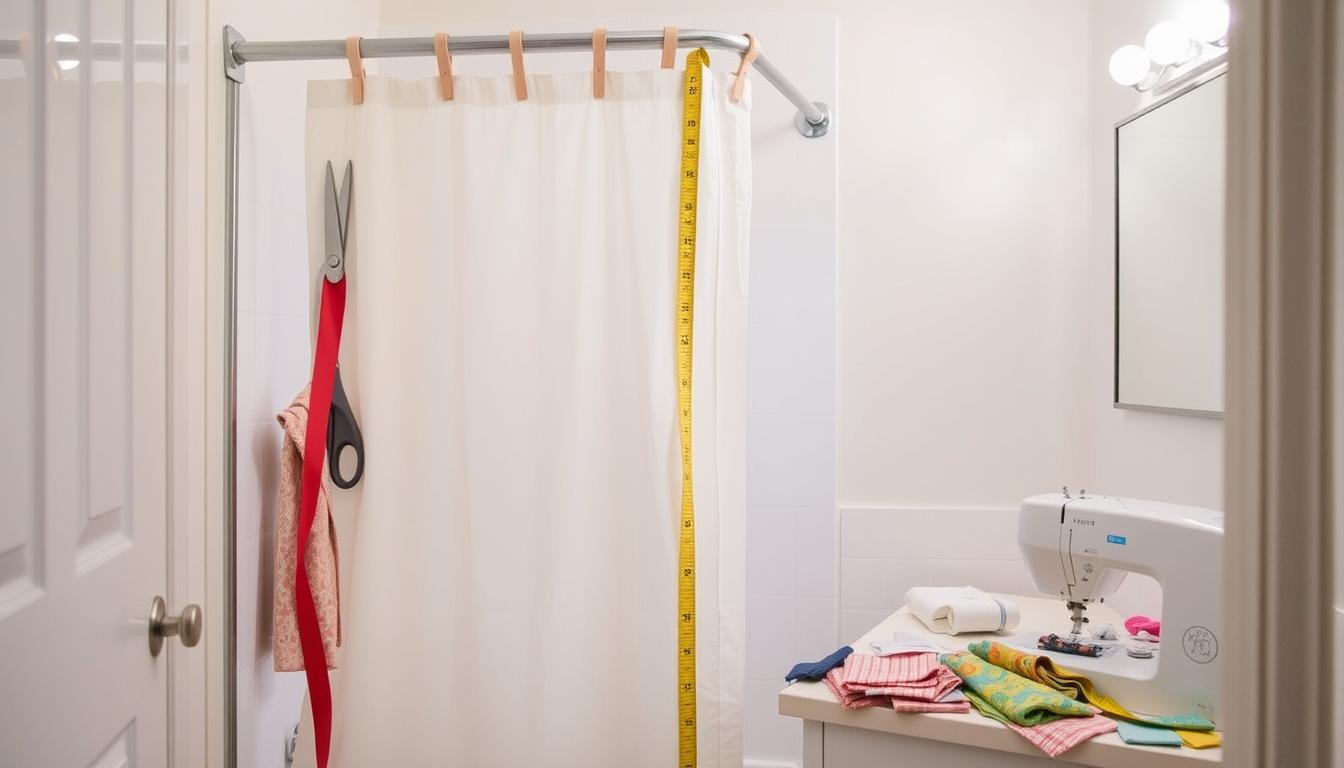
First, decide how long you want your shower curtain to be. Measure from the rod’s top to a few inches above the floor. This usually means a length of about 72 inches. Then, add 12 inches for hemming, making it 84 inches in total for cutting.
Next, use a tape measure to mark your curtain’s length with fabric marker or chalk. Make sure your lines are straight and even for a tidy hemline. If you’re working with 100% cotton, measure 4.75 yards for a standard curtain. For custom sizes, increase the width by 4 inches and the length by 10 inches for the hems.
Cutting and Hemming
After marking, cut the fabric along the drawn lines. For a neat hem, fold the fabric over half an inch and press it. Then, fold it over once more to a 1-inch hem and press well. This technique ensures a clean and strong edge.
Sew the hem using a straight stitch or by hand if you prefer. If adding piping, attach it to one side before sewing the pieces together. Hemming the sides and bottom creates a polished look. Align patterns and check the fabric direction to avoid mistakes, ensuring a flawless curtain.
If you want more tips, check out Professor Pincushion’s guide on blind hems. It offers helpful insights and visual aids, simplifying the curtain shortening process.
By following these instructions, you can easily shorten your shower curtain and add an elegant touch to your bathroom. Remember to fit your curtain before final hemming to prevent future adjustments.
Check out this detailed guide for more DIY curtain projects and advice.
Bleaching and Preparing Extra Long Curtains
Bleaching shower curtains can make them look much better. This is true especially for curtains that are off-white or have turned yellow. If you are making shower curtains yourself, this step will give you a bright, clean result. Check out this DIY project guide.
A controlled bleaching process is key before you resize your shower curtain. Here’s a simple guide on how to bleach them:
- Materials Needed: You will need 8 cups of bleach (1/2 gallon) for each tub, drop cloths (6×9 Everbilt brand), and vinegar for the rinse.
- Bleaching Process: Put 2 drop cloths in a tub filled with the bleach solution for 7 hours. The fabric may naturally shrink a bit.
- Washing and Drying: Wash the drop cloths twice—first without detergent, then with it. Finally, dry them in a dryer with a dryer sheet.
This method gets your extra-long curtains ready for the next steps. Be aware that 100% cotton curtains may shrink, which can affect the resizing process.
For more creative ideas and details on specific projects, check out this detailed guide. It offers tips on working with FS Bleached Waffle linen/cotton fabric to make robes, shorts, and towels. These projects add a personal touch to your home decor.
Test Fitting Your Shower Curtain
Before you finish the hem, it’s important to try out the shower curtain. This step makes sure it looks good and avoids excess fabric on the floor. Excess fabric in a damp area like a bathroom can cause issues.
Importance of Test Fitting
Testing how your shower curtain fits helps hang it the right way. It should be about 2 inches from the floor. This keeps moisture in and your bathroom neat. Plus, it stops the curtain from touching the floor, avoiding mold or wear.
The usual size for shower curtains is 74 inches x 74 inches. Yet, you may need to tweak it for your bathroom.
Pinning and Adjusting
When your shower curtain is up, pin the bottom for the hem. This lets you adjust the length for a clean look. Add 4 inches to the curtain length for the rod height. This ensures it hangs right.
After pinning, check the look and adjust if needed. Ensure it’s 5 inches below the bathtub edge to keep water in. The final length should keep the curtain 2 inches off the floor.
Tension rods are good because they adjust to most spaces. Your rod should be straight and strong. Always use a liner inside the shower to protect the curtain and floor. Proper testing and adjusting lead to a great look for your bathroom.
Adding Finishing Touches
Adding extra design features to your shower curtain can make your bathroom look amazing. Start by checking out DIY shower curtain enhancements like a fancy trim or a special border. These simple additions can really make your curtain pop and match your bathroom’s style.
It’s important to also use a neat shower curtain liner for both its function and look. The liner should fit perfectly with your curtain. This often-missed step is key to making your shower curtain look finished.
For a more elegant vibe, think about adding stylish hardware like stainless steel elements and spa-like shelves. These touches improve your bathroom’s look. Adding pieces like wooden benches can also add character and use.
Good lighting is vital for highlighting your DIY shower curtain work. Mix working lights with softer lighting by using hidden LEDs or big pendant lights. This makes your space welcoming and useful.
Adding special touches like old-fashioned mirrors and Turkish towels can bring the whole look together. Putting up window coverings like Roman shades or colorful curtains adds texture and color.
| Finishing Feature | Recommended Enhancements |
|---|---|
| Shower Curtain | Drapery trim, decorative border, neat liner installation |
| Hardware | Stainless steel fixtures, glass shelves |
| Lighting | Concealed LEDs, designer pendants |
| Furniture | Wooden or rattan benches |
| Textiles | Vintage rugs, Turkish towels |
| Window Treatments | Roman shades, patterned curtains |
| Storage | Built-in shower niches, medicine cabinet stations |
Common Mistakes and Troubleshooting Tips
Starting a DIY project to shorten your shower curtain requires attention to common mistakes. A big error is not accounting for the fabric to shrink. Before you cut, make sure to pre-wash your curtain. This step avoids a too-short curtain after sewing. If it shrinks, you can wet and gently stretch the fabric to fit again.
Cutting the curtain too short is another common mistake. Always measure two times before cutting. If you cut it too short, you can add fabric. Some add length by sewing 3/8″ twisted cotton rope segments along the bottom. This can add up to 10 inches. Always do a test fit by pinning before sewing to avoid mistakes.
Proper installation is key for your shower curtain. Many people find issues with their current setup, such as the wrong rod length. A rod that’s too short can cause big problems. Ensuring a good fit prevents sagging or gaps. Also, steaming the bathroom helps stretch the fabric after washing. Tackling these common mistakes early makes for a better solution.

Hey there, I’m Alex Hanson and I’m passionate about all things covers! Whether you’re looking for a car seat cover to protect your vehicle or an oven cover to keep your kitchen clean, I’m here to help. With years of experience in the industry, I have plenty of knowledge and insights to share with my readers. So, if you care about protecting your belongings and making them look their best, you’re encouraged to read my blog as I explore the perfect cover for every need.


